atmega128에서 보내는
데이터를 컴퓨터와 UART로 시리얼 통신을 해보자
UART는 병렬데이터를 직렬(시리얼)데이터로 변경하는 프로토콜이다.
순서
1. UART 모드로 변경 (하드웨어 기기에 있음)
2. 드라이버 설치(미설치시)
3. COM 포트 몇번인지 확인
4. 소스 입력
5. 결과확인

CP2102 를 연결한 모습
위에서부터 순서는 다음과 같다.
1. 3.3v
2. TX(transit)
3. RX(receive)
4. GND
5. 5v
TX와 RX는 양쪽 기기와
암수와 같다.
TX는 반대 기기의 RX에 연결
(transit하니 receive에 받기)

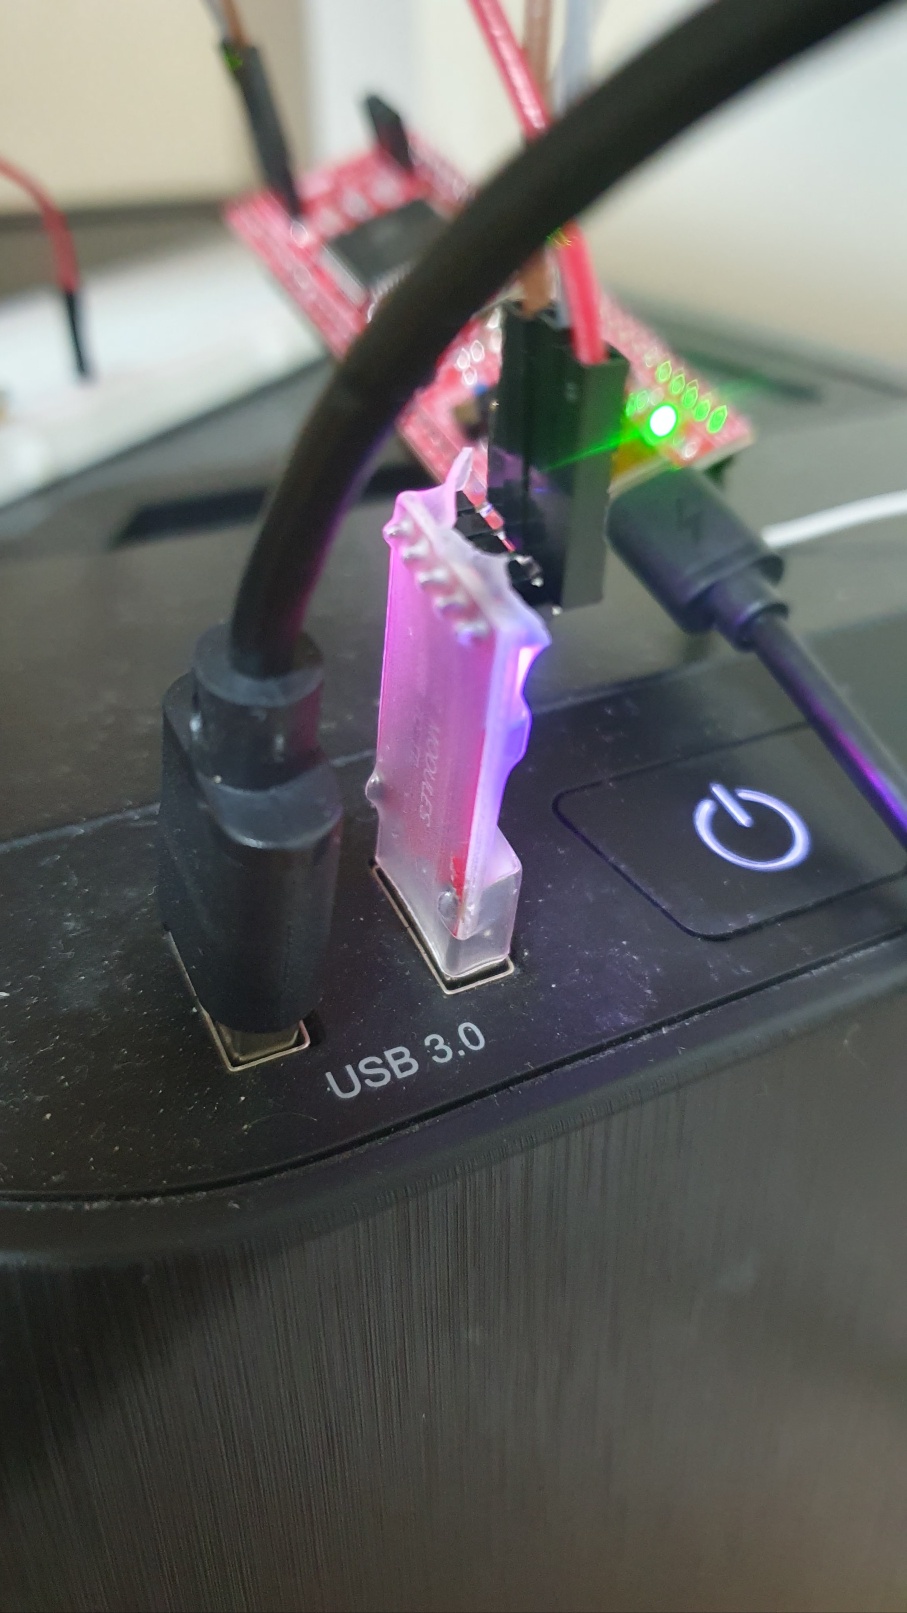
atmega128과 CP2102연결한 모습
3.3v 컨버터칩이
안 먹는건지 잘못 연결한건지 안되어서
C타입 전원을 입력했다.
COM4에 연결...
첨에 COM5인 줄 알고 PUTTy 계속 5로 연결함
1. UART 모드로 변경 (하드웨어 기기에 있음)

2. 드라이버 설치(미설치시)
https://www.silabs.com/developer-tools/usb-to-uart-bridge-vcp-drivers?tab=downloads
CP210x USB to UART Bridge VCP Drivers - Silicon Labs
The CP210x USB to UART Bridge Virtual COM Port (VCP) drivers are required for device operation as a Virtual COM Port to facilitate host communication with CP210x products. These devices can also interface to a host using the direct access driver.
www.silabs.com
3. COM 포트 몇번인지 확인
win + x 눌러
> 장치관리자

4. 소스 입력
#define F_CPU 16000000UL // Define clock speed (16 MHz)
#include <avr/io.h>
#include <util/delay.h>

// Initialize UART
void uart_init() {
	unsigned int ubrr = F_CPU / 16 / 9600 - 1;  // Set baud rate to 9600
	UBRR0H = (unsigned char)(ubrr >> 8);  // Set baud rate high byte
	UBRR0L = (unsigned char)ubrr;         // Set baud rate low byte
	UCSR0B = (1 << RXEN0) | (1 << TXEN0);  // Enable receiver and transmitter
	UCSR0C = (1 << UCSZ01) | (1 << UCSZ00);  // Set 8 data bits, no parity, 1 stop bit
}

// Transmit data over UART
void uart_transmit(unsigned char data) {
	while (!(UCSR0A & (1 << UDRE0)));  // Wait for empty transmit buffer
	UDR0 = data;  // Send data
}

// Send string over UART
void uart_send_string(const char* str) {
	while (*str) {
		uart_transmit(*str++);
	}
}

int main(void) {
	uart_init();  // Initialize UART
	while (1) {
		uart_send_string("Hello, World!\r\n");  // Send "Hello, World!" over UART
		_delay_ms(1000);  // Wait for 1 second before sending again
	}
}
5. 결과확인


#define F_CPU 16000000UL // Define clock speed (16 MHz)
#include <avr/io.h>
#include <util/delay.h>

// Initialize UART
void uart_init() {
	unsigned int ubrr = F_CPU / 16 / 9600 - 1;  // Set baud rate to 9600
	UBRR0H = (unsigned char)(ubrr >> 8);  // Set baud rate high byte
	UBRR0L = (unsigned char)ubrr;         // Set baud rate low byte
	UCSR0B = (1 << RXEN0) | (1 << TXEN0);  // Enable receiver and transmitter
	UCSR0C = (1 << UCSZ01) | (1 << UCSZ00);  // Set 8 data bits, no parity, 1 stop bit
}

// Transmit data over UART
void uart_transmit(unsigned char data) {
	while (!(UCSR0A & (1 << UDRE0)));  // Wait for empty transmit buffer
	UDR0 = data;  // Send data
}

// Send string over UART
void uart_send_string(const char* str) {
	while (*str) {
		uart_transmit(*str++);
	}
}

int main(void) {
	uart_init();  // Initialize UART
	while (1) {
		uart_send_string("Hello, World!\r\n");  // Send "Hello, World!" over UART
		_delay_ms(1000);  // Wait for 1 second before sending again
	}
}
'하드웨어 > atmega128' 카테고리의 다른 글
| atmega128 - 터미널 테스트 출력 #9 (0) | 2025.03.17 |
|---|---|
| atmega128 - 입력에 따라 다르게 출력하기 #8 (0) | 2025.03.16 |
| atmega128 - FND 1~5 나타내기 #5 (0) | 2025.03.12 |
| atmega128 - NPN 트랜지스터로 LED 스위치 제어 #6 (0) | 2025.03.09 |
| atmega128 - 브레드보드용 C타입 파워모듈 전압테스트 (0) | 2025.03.08 |


