atmega128 - atmel studio 설치

1. USB 연결
주의할 점) 연결시 Program 삽입하기 때문에 ISP 모드로 변경해야한다.
2. 드라이버 설치
https://www.silabs.com/developer-tools/usb-to-uart-bridge-vcp-drivers?tab=downloads
CP210x USB to UART Bridge VCP Drivers - Silicon Labs
The CP210x USB to UART Bridge Virtual COM Port (VCP) drivers are required for device operation as a Virtual COM Port to facilitate host communication with CP210x products. These devices can also interface to a host using the direct access driver.
www.silabs.com
드라이버설치

3. 아트멜 스튜디오 다운로드
다운 경로
https://www.microchip.com/en-us/tools-resources/develop/microchip-studio

이후 나오는 내용은 모두 'Next' 누르면 됨
'AVR' 선택
'Advanced Project' 선택해제
3. 아트멜 스튜디오에서 jmod-128-1 연결
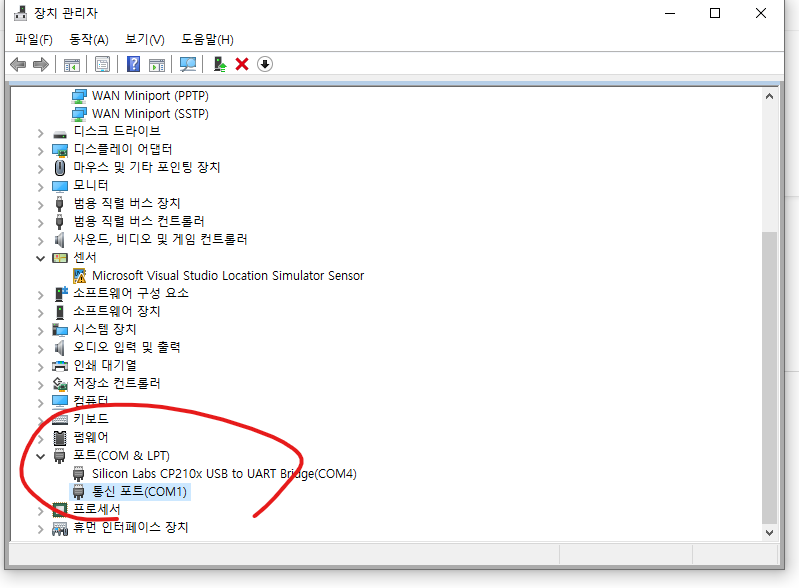
드라이버 설치시 Silicon 이라는 이름이 붙어서
포트인식한다.
작성 기준으로는 'COM4' 임
3-1) 아트멜에서 새 프로젝트 생성


3-2) 소스코드 작성 후 아트메가 타겟 설정
#define F_CPU 16000000UL
#include <util/delay.h>
#include <avr/io.h>

main()
{
	DDRA |= 0x01;

	while(1) {
		PORTA |= 0x01;
		_delay_ms(500);
		PORTA &= ~0x01;
		_delay_ms(500);
	}
}


맞는 포트 선택해주고....


프로그램 삽입을 위해
선택한 디바이스에 apply 클릭

아트메가 기기에 프로그래밍이 저장되어
5v 파워만 주입되어도 실행된다.

이번 포스팅은
기본 셋팅을 올려봄
다음 포스팅 부터는
주제별로 올릴 예정