데일리 공부 기록
hands on vue3 - router가 active될 때 css를 위한 커스텀 class명
탐훈
2023. 3. 22. 00:03
728x90
[목표]
router가 active 될 때 혹은 active되지 않은 곳에
특정 css를 먹이고 싶을 때
커스텀 클래스명을 지어서 적용해보자!

이런 식으로 사용하면 된다.
아래는 적용된 모습

[main.js]
import { createApp } from 'vue';
import { createRouter, createWebHistory } from 'vue-router'
import TeamsList from './components/teams/TeamsList.vue';
import UsersList from './components/users/UsersList.vue';
import App from './App.vue';

const app = createApp(App)
const router = createRouter({
    history: createWebHistory(),
    routes:[{
        path: '/teams',
        component: TeamsList,
    },
    {
        path: '/users',
        component: UsersList,
    }],
    linkActiveClass: '커스텀클래스명'
});
app.use(router);

app.mount('#app');
[TheNavigation.vue]
<template>
<header>
<nav>
<ul>
<li>
<router-link to="/teams">Teams</router-link>
</li>
<li>
<router-link to="/users">Users</router-link>
</li>
</ul>
</nav>
</header>
</template>
<style scoped>
header {
width: 100%;
height: 5rem;
background-color: #11005c;
}
nav {
height: 100%;
}
ul {
list-style: none;
margin: 0;
padding: 0;
height: 100%;
display: flex;
justify-content: center;
align-items: center;
}
li {
margin: 0 2rem;
}
a {
font: inherit;
background: transparent;
border: 1px solid transparent;
cursor: pointer;
color: white;
padding: 0.5rem 1.5rem;
display: inline-block;
}
a:hover,
a:active,
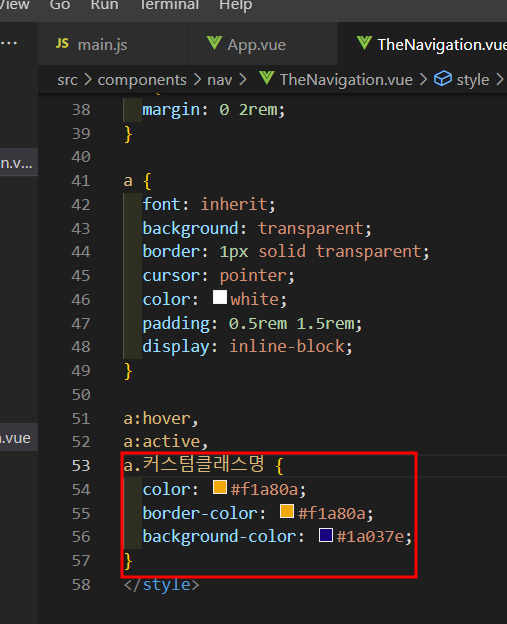
a.커스텀클래스명 {
color: #f1a80a;
border-color: #f1a80a;
background-color: #1a037e;
}
</style>